
If you’re feeling overwhelmed by complicated curly hair routines, or you simply don’t have the time or energy to invest heavily in your curls, this routine is for you. This blog is all about a pared-down, realistic curly hair routine that still looks like you put in effort—without overcomplicating things.
I’m switching things up from my usual routine to share a step-by-step curly hair routine that’s quick, effective, and lifestyle-friendly.
Welcome to Curl Journey
Welcome back. Here, we talk all things naturally curly. I love simplifying curly hair care, helping you problem-solve curl concerns, and guiding you toward routines that truly work for your lifestyle.
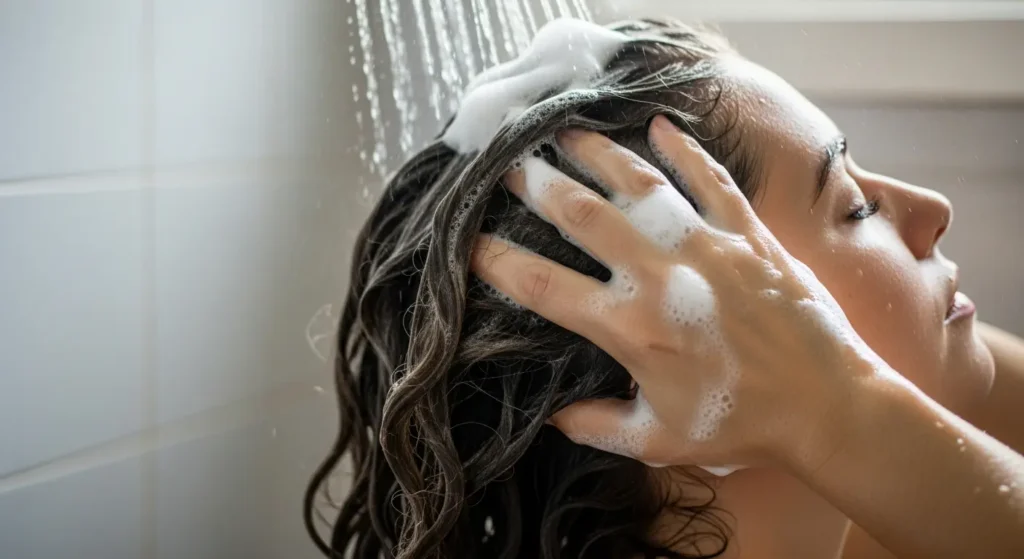
Step 1: Cleanse Without Overcomplicating
I start by wetting my hair after detangling it. The first step is choosing one shampoo—either a clarifying shampoo or a regular shampoo. There’s no need to use both.
Use your regular shampoo. Choose one that lathers well and isn’t overly moisturising so it cleanses effectively without leaving residue behind.
Step 2: Condition Smart, Not Heavy
Next comes conditioning. You only need one—either a regular conditioner or a deep conditioner, not both.
I detangle with the conditioner, working from ends to roots, then add a bit of water and scrunch to help with absorption. I clip my hair up and let it sit briefly—usually around five minutes. Always check the label.
Afterwards, I rinse thoroughly, making sure no conditioner is left behind, especially near the roots. This step is essential if your hair gets weighed down easily.

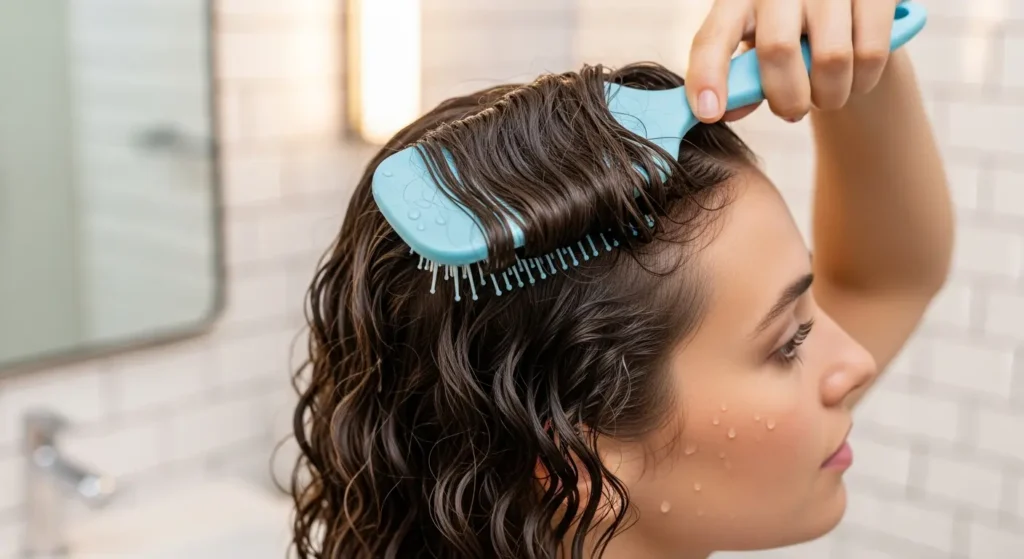
Step 3: Prep Before Styling (This Is Key)
After washing, I wrap my hair in a hair repair towel and then move on to styling. When I take my hair out, it looks stringy, frizzy, and tangled—this is completely normal for my hair.
This is not how I apply styling products.
If you apply the product directly to hair like this, you’ll likely end up with wet frizz, webbing, and uneven curl clumps.
I apply Curl Cream to my palms, distribute it throughout my hair, and brush it through with a Tangle Teezer. This removes wet frizz, smooths tangles, and creates a clean base for styling.
After brushing, I lift my hair off the scalp with my hands to avoid flat roots. Don’t worry—any stretched curls will bounce back during styling.
Step 4: Simple Gel Styling for Defined Curls
To keep this routine fast and easy, I use just one styling product: gel.
I rake the gel through my hair, starting with a nickel-sized amount per side and adding more as needed. Since I’m not sectioning, I take extra care to lift my hair and apply gel underneath, especially in frizz-prone areas like around the face.
I also brush the gel through to ensure even distribution and smooth frizz, then lift the hair off the scalp again for volume.
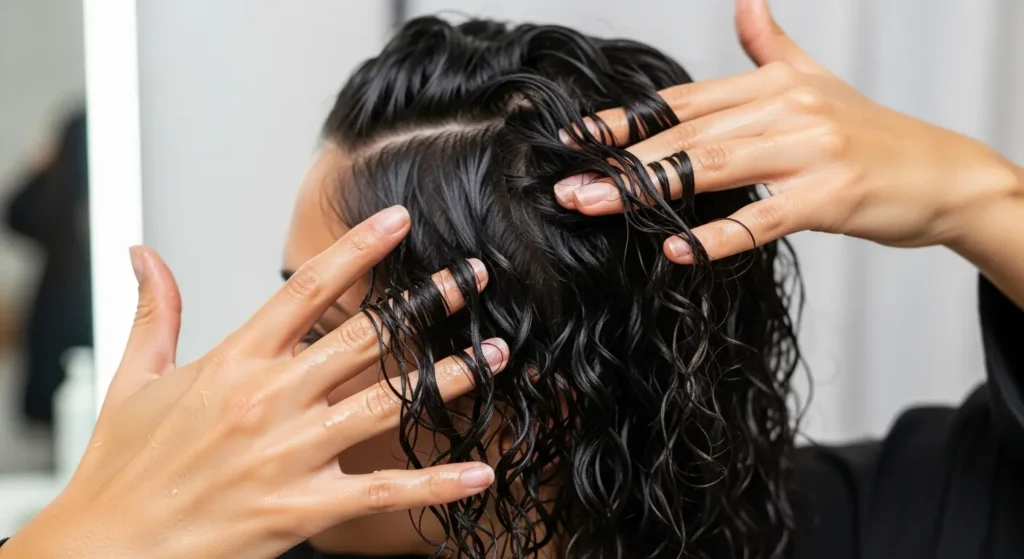
Target Problem Areas Only
At this point, you could stop for an ultra-simple routine. However, I know my hair won’t dry to its full potential if I do.
So, I add a little extra styling only where it matters most—like my crown and front sections.
I lightly brush and finger coil a few curls to enhance shape, tuck in frizz, and boost volume at the roots. This is optional and done strategically, not throughout the entire head.
The goal is to spend time only where it makes the biggest difference.
Step 5: Micro-Plop & Lock It In
Before diffusing, I gently scrunch my hair with a towel—a technique called micro-plopping. This removes excess water and significantly speeds up drying time.
After that, I apply a light second glaze of gel. This helps lock in the style, smooth frizz, and improve hold—especially when using a soft, moisturising gel.

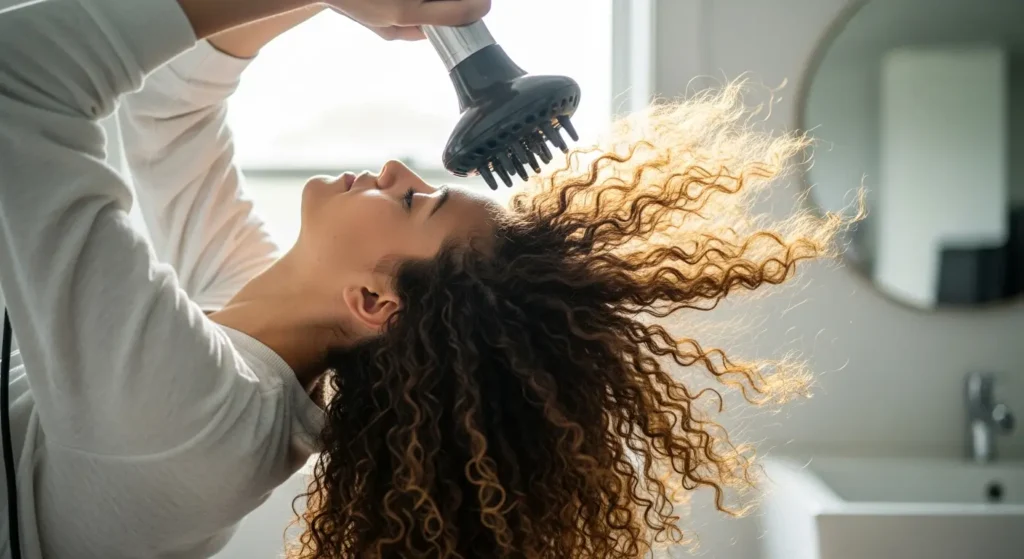
Step 6: Diffuse or Air Dry—Your Choice
Diffusing is optional, but I choose to diffuse because it’s faster and gives immediate results. It also adds more volume, definition, and shape.
If you’re short on time, even a few minutes of diffusing helps set the gel cast. For the longest-lasting results—especially if washing at night—I recommend drying all the way.
I diffuse upside down, side to side, and use the prongs to lift my roots, which helps them dry faster.
Final Step: Scrunch Out the Crunch
dry hands—no oils needed.
I fluff my roots, separate curl clumps, and sometimes use the diffuser briefly to soften the cast even more.
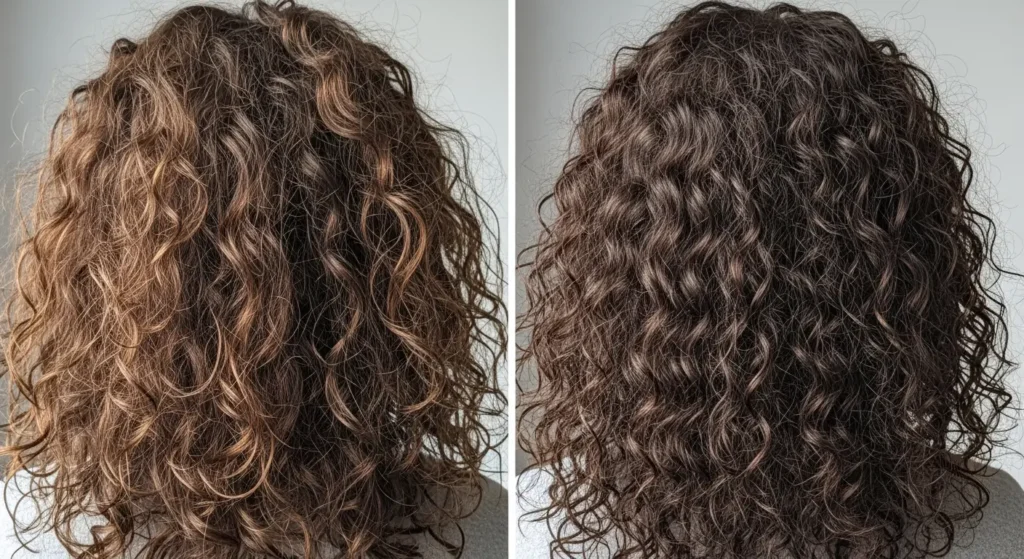
Final Results & Honest Comparison
For a quick routine, the results look really good. Styling took about 10–15 minutes total.
Compared to my usual routine, there is slightly more frizz and less definition, especially on the inner layers—but that’s the trade-off with a simpler routine.
On day two, my hair still looks nice, though I notice more frizz and a few stretched-out pieces. More effort usually means longer-lasting definition, but quick routines are sometimes exactly what real life needs.
The Real Takeaway
Curly hair is all about trade-offs. The key is deciding what you’re willing to sacrifice and what you’re not.
If a simple routine works for your lifestyle and makes you feel confident, that’s a win. You can always do a more detailed routine when you have extra time or a special event.
I hope this routine helps you simplify your wash day without giving up great results. Let me know—do you prefer a simple routine, or do you enjoy more detailed styling?
Your curls, your rules. 💛
Love This? Read More Curl Blogs https://curlsexpression.com/understanding-your-curl-type-the-ultimate-guide-to-finally-loving-your-natural-curls/